

概述:
Ansible简单介绍
Ansible 是一个开源自动化工具,用于管理各种配置和应用程序部署。它既可以配置类 Unix 系统,也可以配置 Windows 系统。
Ansible的命名由来
Ansible这个名称最初并非直接来源于某个具体的科幻小说,但它与科幻作品中的超光速通讯装置有着紧密的联系。据多个来源提及,Ansible的命名受到了科幻作家们笔下超光速通讯工具的影响,这些工具在小说中常被描述为能够跨越时空进行即时通讯的装置。
Ansible的命名与奥森·斯科特·卡德(Orson Scott Card)的科幻小说《安德的游戏》(Ender’s Game)中的安塞波(Ansible)密切相关。在这部小说中,安塞波是一种虚构的超光速通讯装置,主角安德和他的伙伴们通过它跨越时空指挥无数的战舰。这种跨越时空的即时通信能力,与Ansible作为自动化运维工具在IT基础设施中实现的远程管理和控制功能相呼应。
实施Ansible计划
继上一文,Ansible配置Windows客户端实例 继续延伸话题,本文将通过真实实验更加详细记录通过Ansible管理Linux和Windows双平台实现自动化运维的案例。
环境规划
| 角色 | 发行版 | IP地址 | 截图 |
|---|---|---|---|
| Ansible control | RHEL 9.1 | 192.168.0.201 | 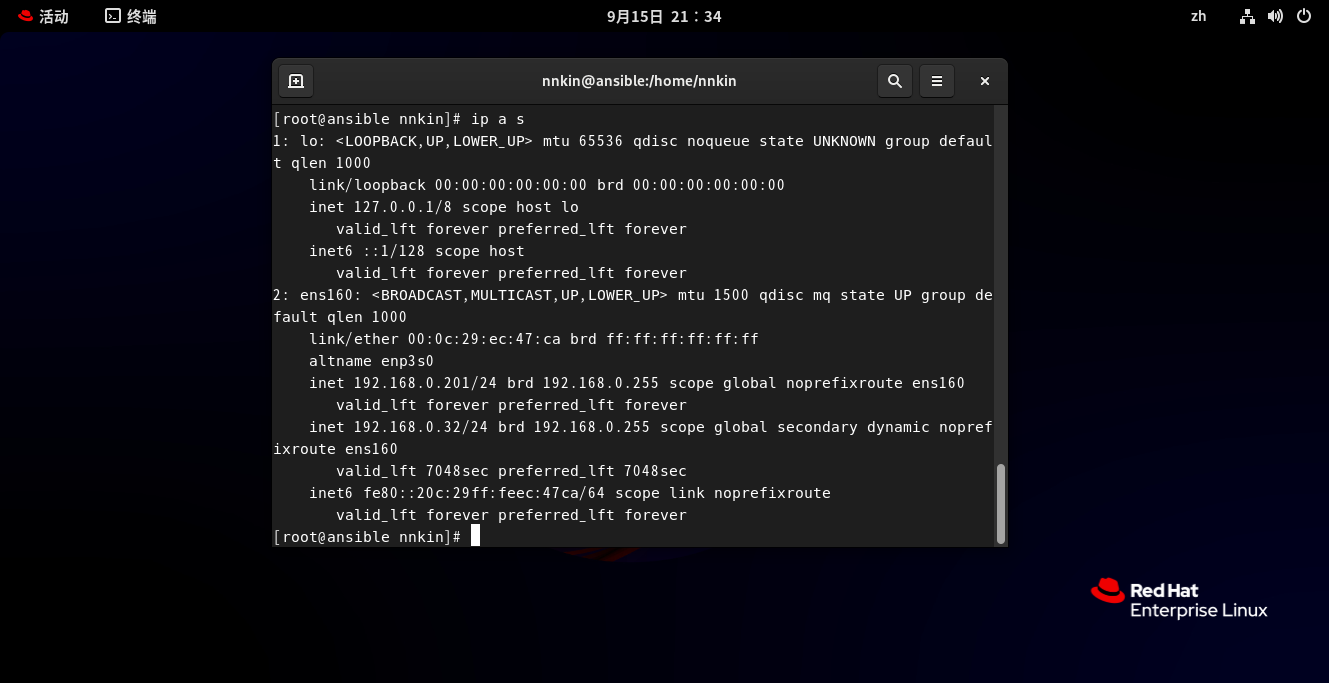 |
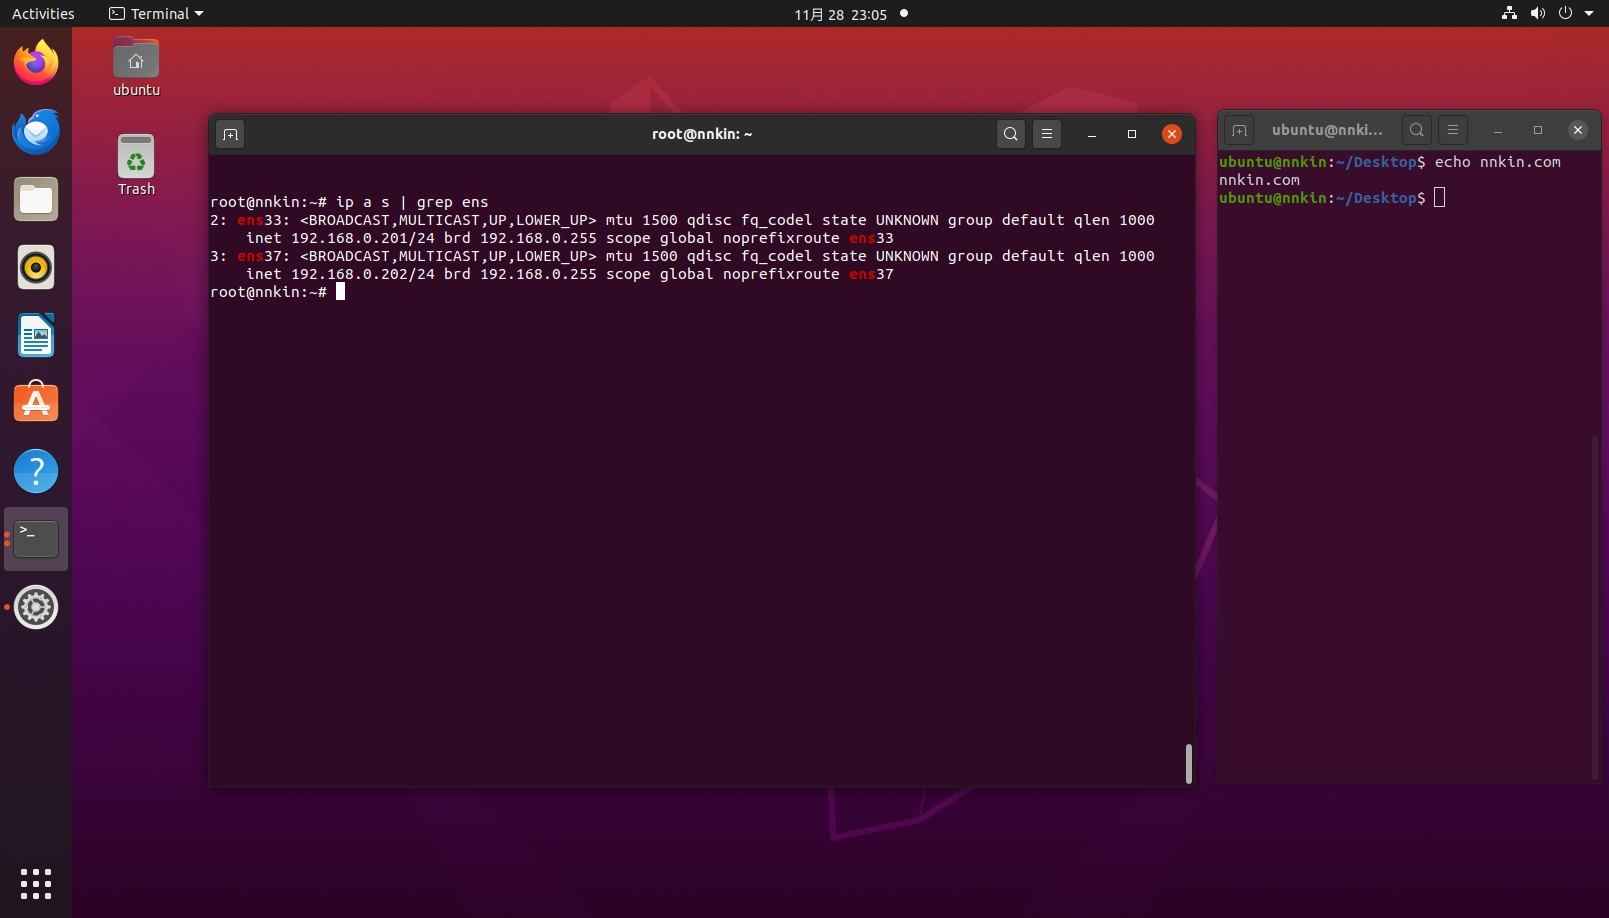
| Linux Node1 | Ubuntu 20.04 | 192.168.0.202 | 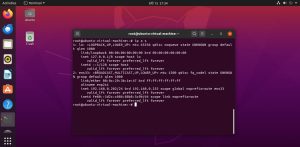 |
| Windows Node2 | Windows10 Enterprise | 192.168.0.203 |  |
在控制节点服务器上安装Ansible
按 RedHat9 配置本地和国内(阿里)YUM源 配置好YUM源,同时进行一次系统更新。
yum update
安装方式一:使用PIP安装(推荐)
查看一下当前python的版本,不低于3.x
python -V
安装pip
yum install -y python3-pip-21.3.1-1.el9.noarch
安装pywinrm
pip install pywinrm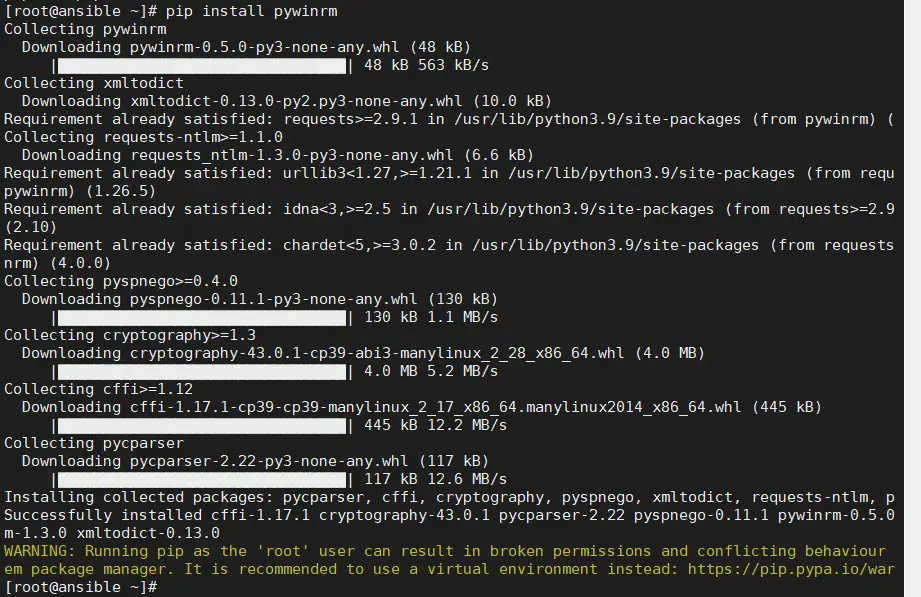
使用pip3安装ansible
pip3 install ansible
查看当前版本
ansible --version
安装方式二:使用YUM安装(不推荐)
yum install ansible*
查看当前版
ansible --version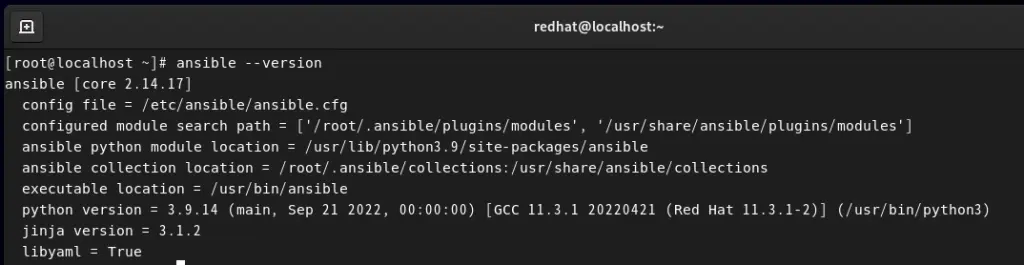
两种方式安装方式的区别
不难发现通过pip和yum两种安装方式的在于通过pip安装的版本是最新版本,而yum安装的版本相对低一些,除此之外,如果你以后如果需要使用CentOS7.X的版本来安装ansible的话,我强烈推荐使用pip的方式来安装,有些坑我替你踩过了,就不多说了。
至此已经成功在RedHat系统上安装了Ansible。接下来可以开始使用Ansible来自动化系统管理和配置。例如,您可以创建Ansible Playbooks来定义系统配置并使用Ansible的模块来执行各种操作,如安装软件包、更新系统和配置服务。
配置Windows客户端
请参 Windows WinRM服务配置 一文来配置Windows客户端的WinRM服务
配置inventory
一般默认的 inventory 文件是 /etc/ansible/hosts, 但通常我们不会去修改这个配置项,而是新建个自定义的配置。
例如我本次的主机文件
[linux]
192.168.0.202
[windows]
192.168.0.203 ansible_user="nnkin" ansible_password="Windows1@#" ansible_port=5985 ansible_connection="winrm" ansible_winrm_server_cert_validation=ignore
其中inventory 中变量
Inventory变量名                含义
ansible_host                  ansible连接节点时的IP地址
ansible_port                  连接对方的端口号,ssh连接时默认为22
ansible_user                  连接对方主机时使用的主机名。不指定时,将使用执行ansible或ansible-playbook命令的用户
ansible_password              连接时的用户的ssh密码,仅在未使用密钥对验证的情况下有效
ansible_ssh_private_key_file  指定密钥认证ssh连接时的私钥文件
ansible_ssh_common_args       提供给ssh、sftp、scp命令的额外参数
ansible_become                允许进行权限提升
ansible_become_method         指定提升权限的方式,例如可使用sudo/su/runas等方式
ansible_become_user           提升为哪个用户的权限,默认提升为root
ansible_become_password       提升为指定用户权限时的密码
配置ansible.cfg
例如我本次的ansible配置文件
[default]
remote_user = root
inventory = /root/ansible/inventory

[privilege_escalation]
become_method = sudo
become_user = root
become_ask_pass = flase
实例:
ping主机是否存活:
ansible -i inventory linux -m ping             #linux
ansible -i inventory windows -m win_ping       #windows

创建目录
ansible -i inventory linux -m file -a 'path=\\\nnkin state=directory'               #linux
ansible -i inventory windows -m win_file -a 'path=C:\\nnkin state=directory'        #Windows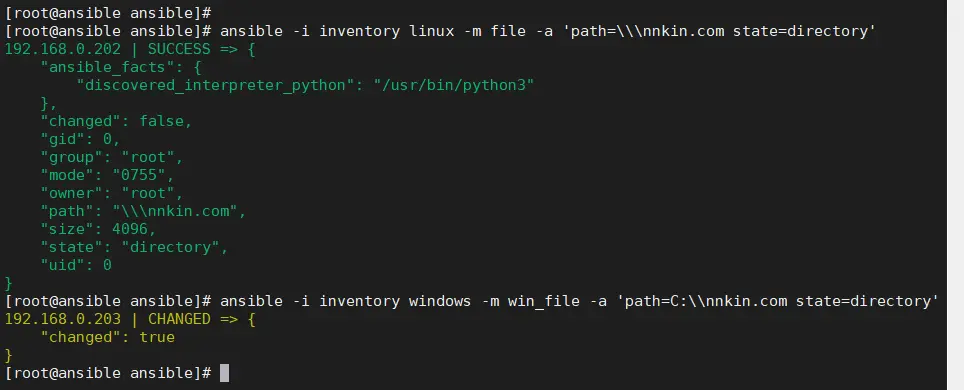
删除目录
ansible -i inventory linux -m file -a 'path=\\\nnkin state=absent'               #linux
ansible -i inventory windows -m win_file -a 'path=C:\\nnkin state=absent'        #Windows
删除文件
ansible -i inventory linux -m file -a 'dest=\root\nnkin.txt state=absent'                #linux
ansible -i inventory windows -m win_file -a 'dest=C:\\nnkin.txt state=absent'            #Windows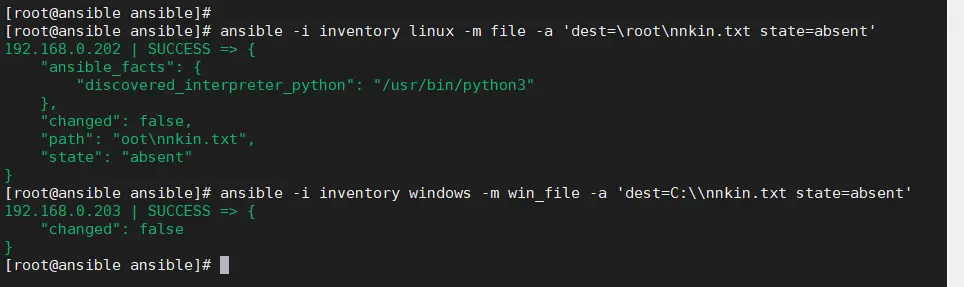
执行shell/cmd命令
ansible -i inventory linux -m shell -a 'hostname'               #linux
ansible -i inventory windows -m win_shell -a 'ipconfig'         #Windows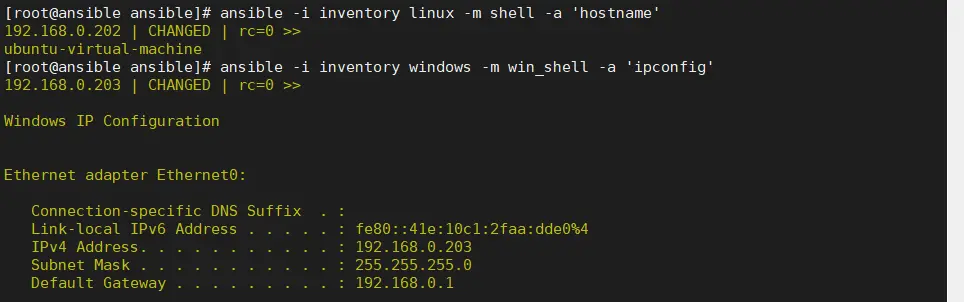
创建用户或修改密码
ansible -i inventory linux -m user -a 'name=nnkin.com password=Windows1@'              #linux
ansible -i inventory windows -m win_user -a 'name=nnin.com password=Windows1@'         #Windows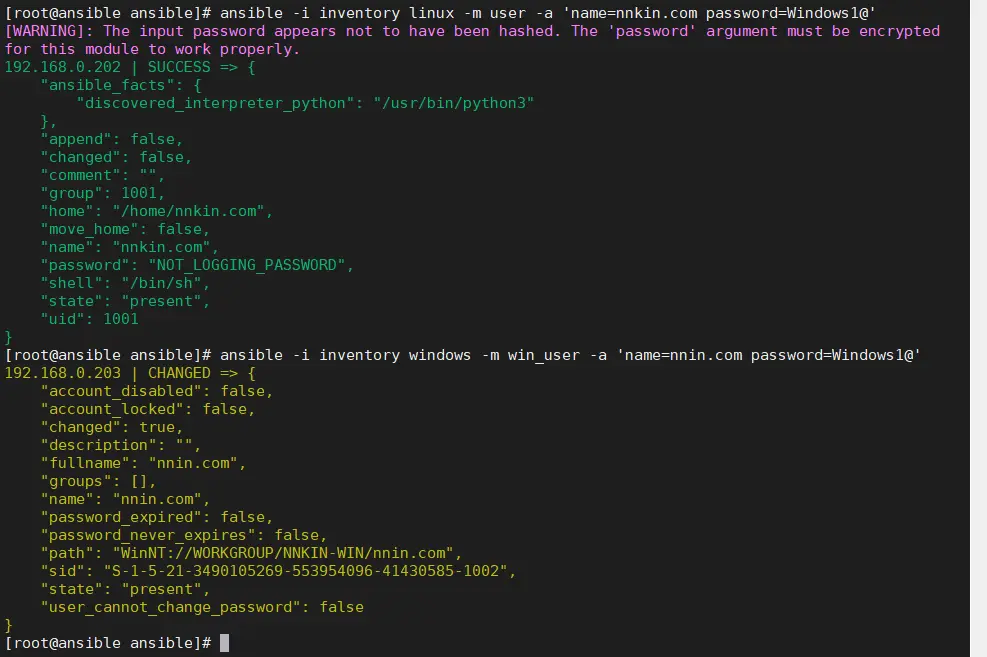
还有很多的模块就不一一演示了,大家可以自己去试试。
ansible-doc -l|grep win_03.jpg)


0