共计 2958 个字符,预计需要花费 8 分钟才能阅读完成。
概述:
Ansible 简单介绍
Ansible 是一个开源自动化工具,用于管理各种配置和应用程序部署。它既可以配置类 Unix 系统,也可以配置 Windows 系统。
Ansible 的命名由来
Ansible 这个名称最初并非直接来源于某个具体的科幻小说,但它与科幻作品中的超光速通讯装置有着紧密的联系。据多个来源提及,Ansible 的命名受到了科幻作家们笔下超光速通讯工具的影响,这些工具在小说中常被描述为能够跨越时空进行即时通讯的装置。
Ansible 的命名与奥森·斯科特·卡德(Orson Scott Card)的科幻小说《安德的游戏》(Ender’s Game)中的安塞波(Ansible)密切相关。在这部小说中,安塞波是一种虚构的超光速通讯装置,主角安德和他的伙伴们通过它跨越时空指挥无数的战舰。这种跨越时空的即时通信能力,与 Ansible 作为自动化运维工具在 IT 基础设施中实现的远程管理和控制功能相呼应。
实施 Ansible 计划
继上一文,Ansible 配置 Windows 客户端实例 继续延伸话题,本文将通过真实实验更加详细记录通过 Ansible 管理 Linux 和 Windows 双平台实现自动化运维的案例。
环境规划
| 角色 | 发行版 | IP 地址 | 截图 |
|---|---|---|---|
| Ansible control | RHEL 9.1 | 192.168.0.201 | |
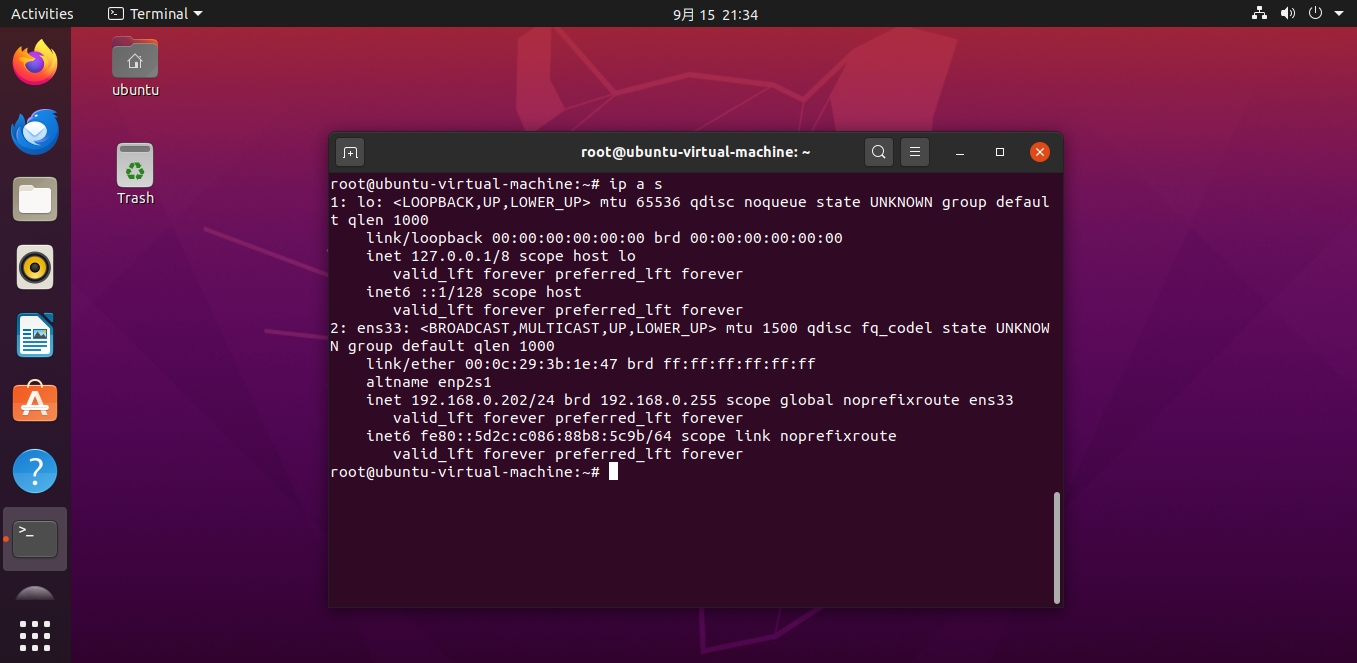
| Linux Node1 | Ubuntu 20.04 | 192.168.0.202 |  |
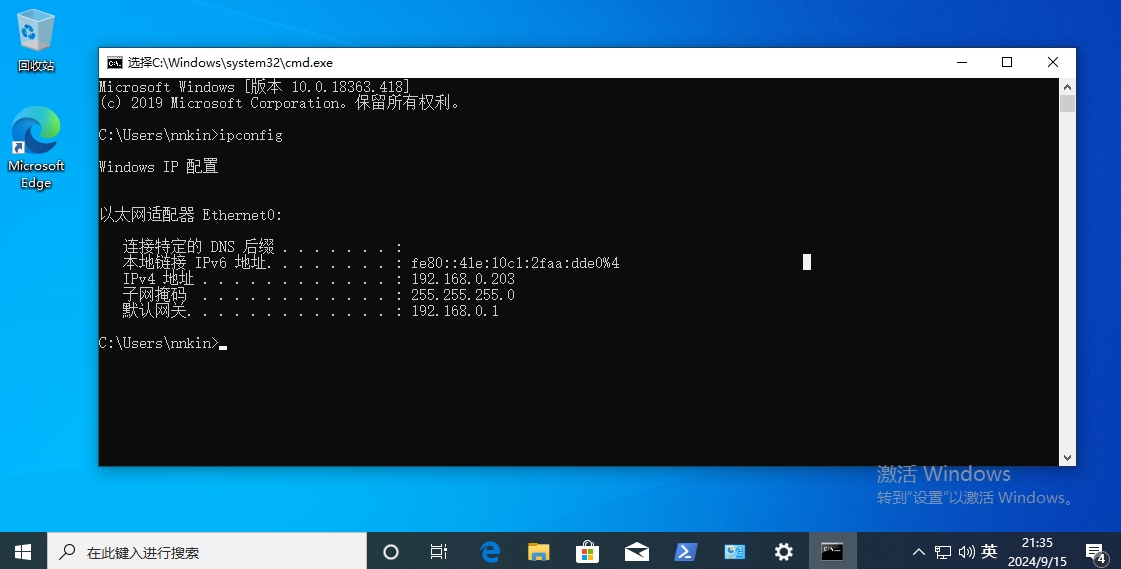
| Windows Node2 | Windows10 Enterprise | 192.168.0.203 |  |
在控制节点服务器上安装 Ansible
按 RedHat9 配置本地和国内 (阿里)YUM 源 一文配置好 YUM 源, 同时进行一次系统更新。
yum update
安装方式一:使用 PIP 安装(推荐)
查看一下当前 python 的版本,不低于 3.x
python -V
安装 pip
yum install -y python3-pip-21.3.1-1.el9.noarch
安装 pywinrm
pip install pywinrm
使用 pip3 安装 ansible
pip3 install ansible
查看当前版本
ansible --version
安装方式二:使用 YUM 安装(不推荐)
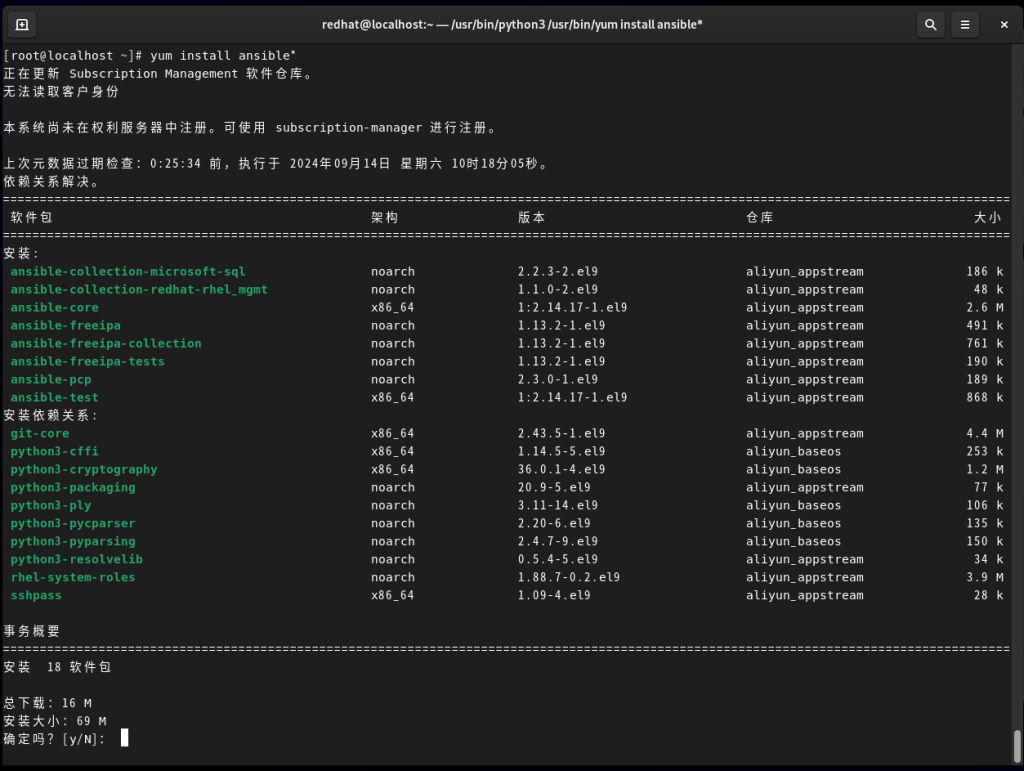
yum install ansible*
查看当前版本
ansible --version
两种方式安装方式的区别
不难发现通过 pip 和 yum 两种安装方式的在于通过 pip 安装的版本是最新版本,而 yum 安装的版本相对低一些,除此之外,如果你以后如果需要使用 CentOS7.X 的版本来安装 ansible 的话,我强烈推荐使用 pip 的方式来安装,有些坑我替你踩过了,就不多说了。
至此已经成功在 RedHat 系统上安装了 Ansible。接下来可以开始使用 Ansible 来自动化系统管理和配置。例如,您可以创建 Ansible Playbooks 来定义系统配置并使用 Ansible 的模块来执行各种操作, 如安装软件包、更新系统和配置服务。
配置 Windows 客户端
请参 Windows WinRM 服务配置 一文来配置 Windows 客户端的 WinRM 服务
配置 inventory
一般默认的 inventory 文件是 /etc/ansible/hosts,但通常我们不会去修改这个配置项,而是新建个自定义的配置。
例如我本次的主机文件
[linux]
192.168.0.202
[windows]
192.168.0.203 ansible_user="nnkin" ansible_password="Windows1@#" ansible_port=5985 ansible_connection="winrm" ansible_winrm_server_cert_validation=ignore
其中 inventory 中变量
Inventory 变量名                含义
ansible_host                  ansible 连接节点时的 IP 地址
ansible_port                  连接对方的端口号,ssh 连接时默认为 22
ansible_user                  连接对方主机时使用的主机名。不指定时,将使用执行 ansible 或 ansible-playbook 命令的用户
ansible_password              连接时的用户的 ssh 密码,仅在未使用密钥对验证的情况下有效
ansible_ssh_private_key_file  指定密钥认证 ssh 连接时的私钥文件
ansible_ssh_common_args       提供给 ssh、sftp、scp 命令的额外参数
ansible_become                允许进行权限提升
ansible_become_method         指定提升权限的方式,例如可使用 sudo/su/runas 等方式
ansible_become_user           提升为哪个用户的权限,默认提升为 root
ansible_become_password       提升为指定用户权限时的密码
配置 ansible.cfg
例如我本次的 ansible 配置文件
[default]
remote_user = root
inventory = /root/ansible/inventory

[privilege_escalation]
become_method = sudo
become_user = root
become_ask_pass = flase
实例:
ping 主机是否存活:
ansible -i inventory linux -m ping             #linux
ansible -i inventory windows -m win_ping       #windows
创建目录
ansible -i inventory linux -m file -a 'path=\\\nnkin state=directory'               #linux
ansible -i inventory windows -m win_file -a 'path=C:\\nnkin state=directory'        #Windows
删除目录
ansible -i inventory linux -m file -a 'path=\\\nnkin state=absent'               #linux
ansible -i inventory windows -m win_file -a 'path=C:\\nnkin state=absent'        #Windows
删除文件
ansible -i inventory linux -m file -a 'dest=\root\nnkin.txt state=absent'                #linux
ansible -i inventory windows -m win_file -a 'dest=C:\\nnkin.txt state=absent'            #Windows
执行 shell/cmd 命令
ansible -i inventory linux -m shell -a 'hostname'               #linux
ansible -i inventory windows -m win_shell -a 'ipconfig'         #Windows
创建用户或修改密码
ansible -i inventory linux -m user -a 'name=nnkin.com password=Windows1@'              #linux
ansible -i inventory windows -m win_user -a 'name=nnin.com password=Windows1@'         #Windows
还有很多的模块就不一一演示了,大家可以自己去试试。
ansible-doc -l|grep win_

